SERVICES
PAUT - PHASED ARRAY ULTRASONIC TESTING

Solutions
- Pressure Vessel Weld Inspection
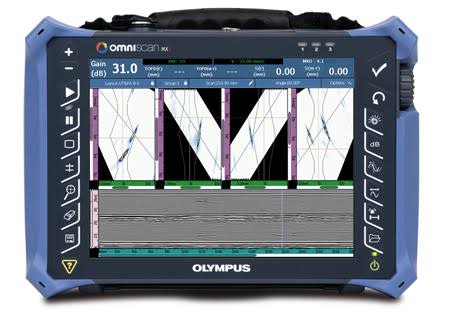
A complete inspection of pressure vessel welds can be performed in a single scan using an OmniScan PA and manual scanner such as the HSMT series or a motorized scanner like the WeldROVER. By combining TOFD and PA in a single inspection pass, a significant reduction in inspection time can be achieved as compared with conventional raster scanning or radiography. Furthermore, inspection results are available immediately, enabling you to detect problems with welding equipment and fix them right away.
- Weld Inspection of Small-Diameter Pipes
When coupled with the COBRA manual scanner, the OmniScan flaw detector is capable of inspecting pipes ranging from 0.84 in. OD to 4.5 in. OD. With its very slim design, this manual scanner is able to inspect pipes in areas with limited access. Adjacent obstructions such as piping, supports, and structures can be as close as 12 mm (0.5 in.).
- Phosphor Plates Supported
- 70mm to 14-inch (35cm) width, 8-inch (20 cm) to 60-inch (152 cm) length
- Multipleplatesimultaneousfeedupto14-inch(35 cm) width
- Manual and SemiautomatedCorrosion Mapping
The OmniScan PA system with the HydroFORM scanner is designed to offer the best inspection solution for detecting wall- thickness reductions resulting from corrosion, abrasion, and erosion. In addition, this system detects mid-wall damage, such as hydrogen- induced blistering and manufacturing-induced delamination, and clearly differentiates such anomalies from loss-of-wall-thickness. For this application, phased array ultrasound technology offers superior inspection speed, data point density, and detection.
- Composite Inspection
Parts made of laminate composite materials pose an inspection challenge due to their various shapes and thicknesses. Olympus offers complete solutions for the inspection of carbon-fiber-reinforced polymer structures. These solutions are based on the OmniScan flaw detector, the GLIDER™ scanner, and dedicated probes and wedges designed for CFRP flat panel and radius inspection.
(C) Copyright SQS NDT International Pvt. Ltd., India
Web Design & Maintenance: LQxCloud.com
